I’ve roughed up the bottom of the clamps that will attach to the mini-deck, and I’ve drilled two 5/16-inch holes through the plates to be epoxied. I drilled 1/2-inch countersinks into both sides of each, thinking that epoxy would fill the resulting hour-glass shaped channels and enhance the bond. I plan to fillet these pieces into place, and I have eased the edges and corners to make the fillet easier to apply.
Here’s the plan: I’ll fix the forward clamp into place first. Fit the slide over it. Slide the aft clamp into place, mark it, remove the slide, then fix the aft clamp. The clamps will determine where the toggle clamp on its mounting plate goes. All the attachment hardware may be in place and epoxy well on its way to curing as soon as tomorrow.
Note the first: it took much more wood-flour-thickened epoxy than I expected to cover the bottom of the first mount and make a decent fillet all across the top of the plate. 35-38g total. It’s a mess. I keep shaping it and hoping for the best. It’ll work, but it’s not pretty. Sanding and paint will be called for.
Day 90
But it sure is solid. I’m going to end up remaking (or at least adjusting) the upper half of these clamps; they’ll work, but their not-quite-altogether-perfect fit bugs me. I’m in no hurry to address this at the moment since I may have to remount them on some manner of adapter plate to permit fore and aft positioning of the slide (that possibility and a scheme to do it licensed me to go ahead and put down hardpoints on the hull even though I am not really sure where the CG, CB, and seat will be when the hull finally hits the water — Center of Gravity, Center of Bouyancy, sorry).
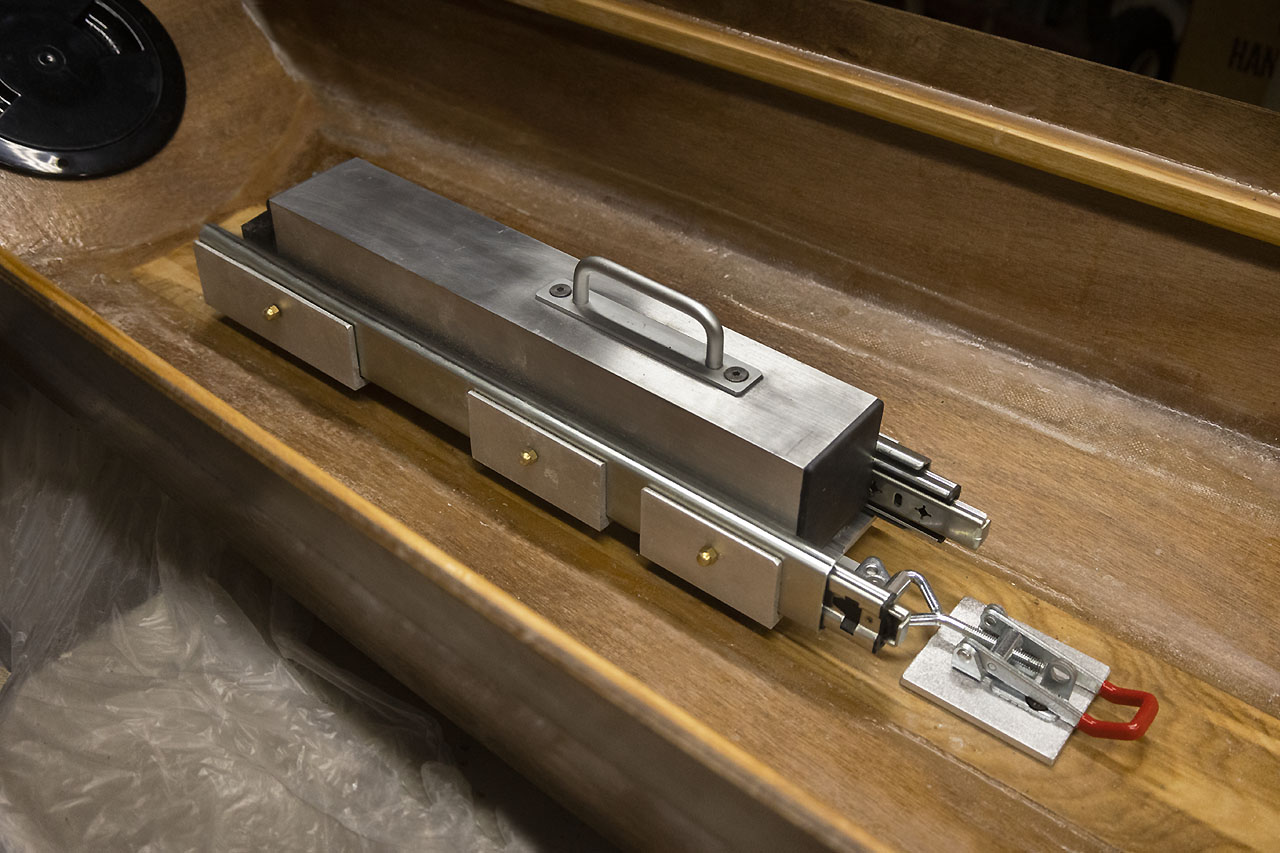
Here’s a not-particularly-informative look at the sliding mechanism in place.
Think about a short guide rail (somewhere) to speed fitting at the water’s edge. It would remove ambiguity in side to side placement and force alignment to the keel line.
The aft clamp and the toggle latch are epoxied down more neatly than the forward clamp is (not a high bar). I glued the toggle clamp with minimally thickened goop (it only needs to resist lateral strain, not lifting forces) and then added more flour to the goop before spreading it over the aft clamp. 36g sufficed for all of it and left a little to assist in the fillet for the aft bulkhead.
A few hours on: the bits are cured enough to try things out. AHAHAHA! It works really well. All that drawing and planning and now that it is all REAL: it is SOLID! It is “perfect enough.” I’ll leave it alone to continue curing overnight and then some. Onward! It works! (In case you cannot tell, this is a high point in the whole damn project.)
Get it wet, find real issues, collect notions, order them by urgency and importance, and then work on the problems as they arise. Not now. For now, just get on with it.
Day 91
I epoxied four short 3/4-inch plywood tabs alongside the fixed-in-place slider. I’ll need to sand them lightly to insure clearance when installing the machinery then coat them with clear epoxy then sand the office then give the interior one more going over lightly with epoxy and then varnish everything. Interesting that it feels like I’m almost done, even with all the “then”‘s in that sentence.
I’m still considering whether I want to go for a “refinished 19th century shell” look and keep the hull bright, or apply a white overcoat to everything below the deckline and splashbox. I may still be “considering” that this time next year. Or I may be chin deep in flat white hull paint next month. Who knows? Not I.
Every time I apply epoxy here or there, I’ve been adding thickener to the pot and then applying the remainder to the bulkhead fillets. I need to remember to order some flathead screws to attach the inspection/access ports and a long 3/8-16 bolt to hold the outrigger [ha! see below]. A 3/8-16 rod will do for the stretcher attachments. Maybe before day 100, I’ll actually put it in the water. Maybe.
Day 92
Don’t imagine that these “day NN” titles mean much of anything. Since “Day 91,” the chimney came down; the well stopped pumping; Amy went to the beach; the well is working again, and we may be shopping for a new roof(!). And I’m finally back to the boat. I promise all that took more than 24 hours.
While walking Gemma this morning, I suffered an epiphany. I have been thinking all wrong about how to attach the outrigger to the vertical support. I couldn’t locate a suitable 3/8-16 bolt to reach all the way through the vertical girder with room for a washer, the clamp that holds the outrigger, and a nut. It’s just as well, because as a result, I have hatched a way better notion. Here are two large hints: use the other toggle latch, and pull down, not back.
I dry-fitted some stuff and saw that I need to attach the vertical support to the slider using aluminum plates on the sides, not L-extrusions front and back (I may need the space). So far, I have filled four index cards with sketches and placed two fresh orders to Amazon (one for more flat aluminum stock and another for smaller toggle latches). It may not sound like it, but I swear launch day is getting close.
Do you really want more drawings? I suspect you really do not. Just wait for the photos of the fait accomplis.