It’s been 10 weeks since my last confession. So “Day 83” is a term of art just to keep things more or less consecutive. The basement (aka “the boatyard”) got chilly, epoxy turned slow and slightly unpredictable, the winter lake was not especially inviting for a total rookie, the sky invited me back out under the stars. The boat waited.
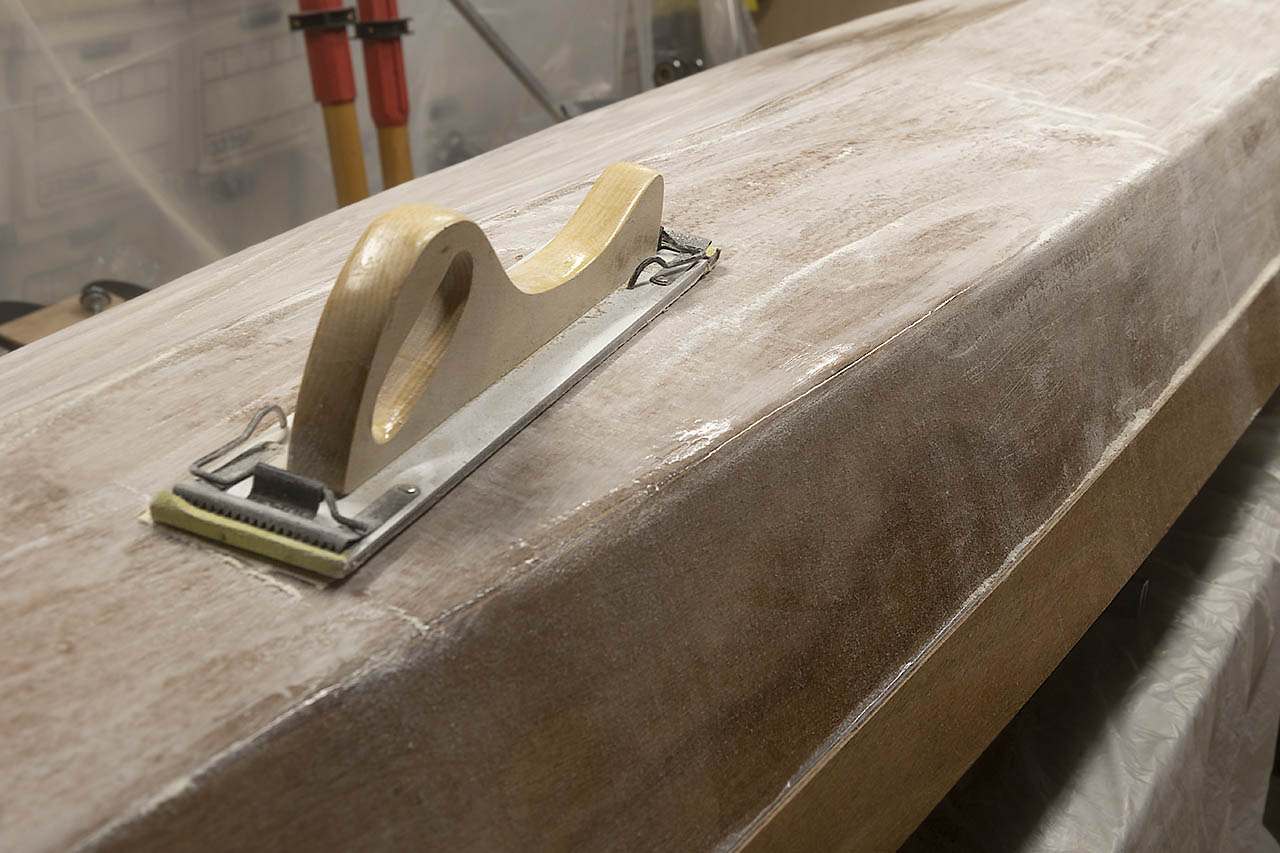
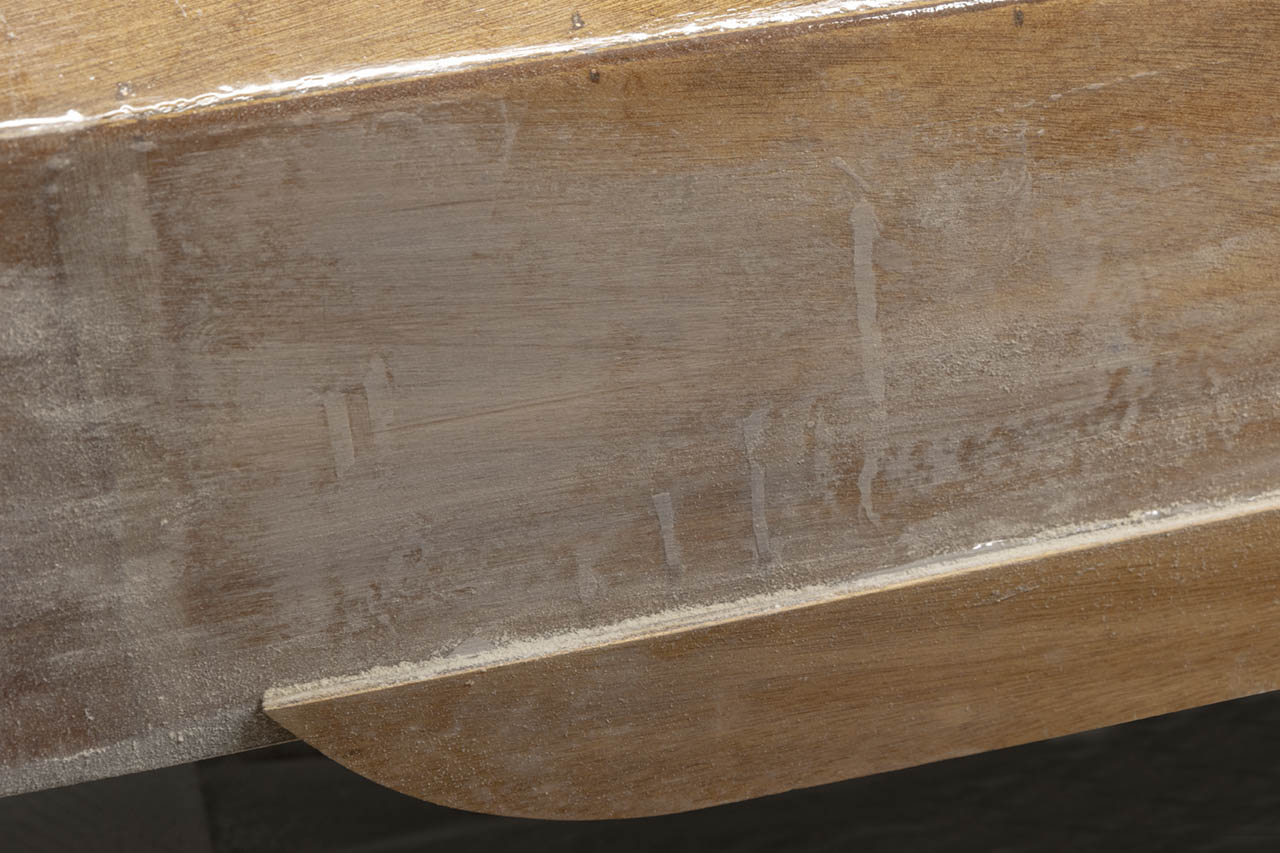
Today I put 120-grit sandpaper on a 16.5-inch “long board” and removed all the drips and irregularities left on the hull and fore deck by by a woodworking klutz committing multiple assaults using epoxy resin. The long board worked like a charm. In 20-30 minutes, the runs were smooth to the touch and the chines smooth and straight.

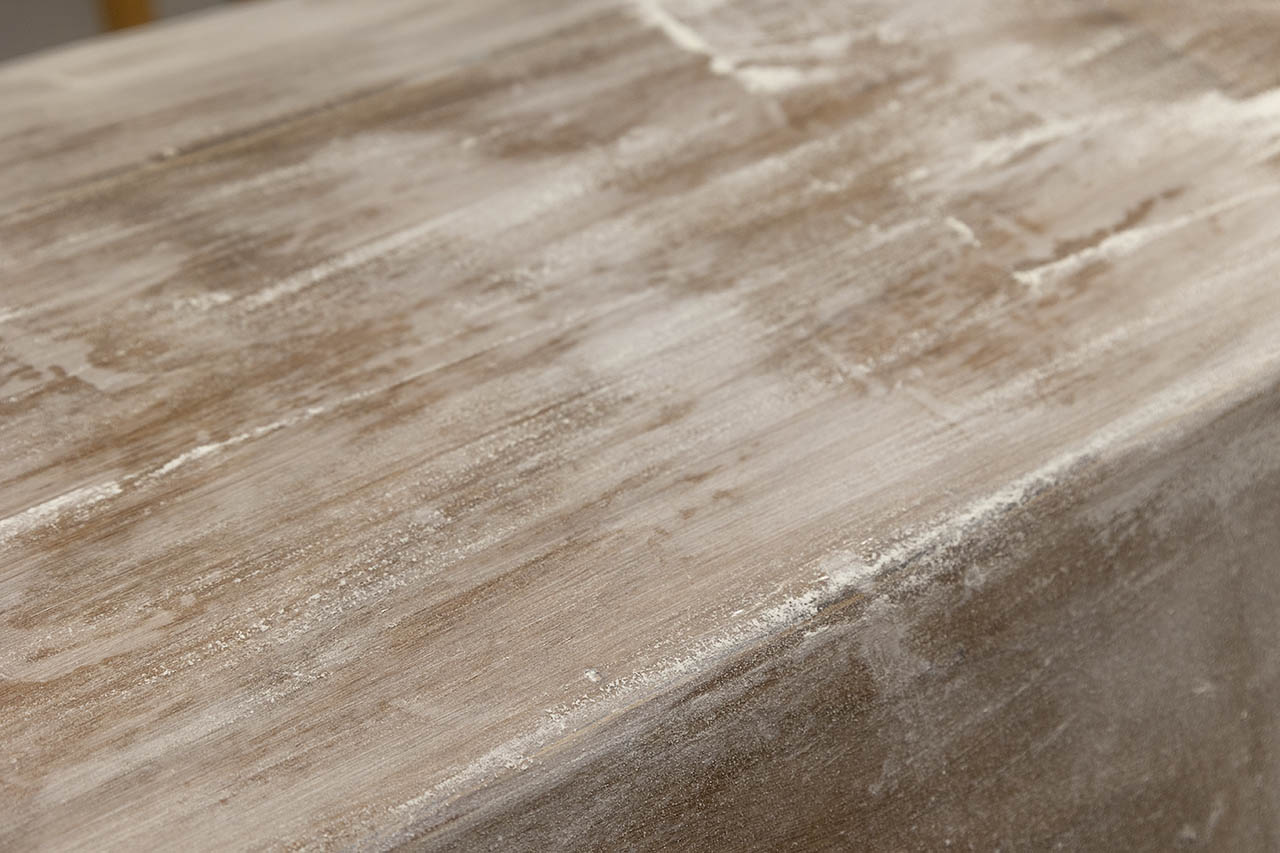
Long board sanding of drips is a little unnerving: runs and drips turn white first, and you know you’re making progress when the otherwise smooth epoxy nearby also turns white. Keep it up with another few strokes and the fingertips say all is well even as the eyes say What The Hell Have You Done? By now, I am fairly confident that even a thin layer of epoxy will restore the lovely wood grain and lustre.

The mechanical bits are well settled in my head and installing most of them will just be a matter of doing it. So I believe and will believe for as long as I possibly can.
I’d like the boat ready for the water as soon as the weather this year warms. I can chop up the lake all summer, and when the water seems idyllic in autumn, I ought to be ready to put it to some good use. So says The Plan.
I put in an hour and change of ShopVac work removing dust from the long board passes and found a few irregularities requiring another minute or three of attention. The sanding produces dozens of alarming patches to the eye; the fingers say only a few actually matter. Those I knocked down with the board. I’m thinking that the relatively cool shop will be good for leisurely coating.

I wiped dust off with a moistened ScotchBrite pad and dried everything with paper towels. Of course, in the process I found a few determined drips and one overlooked gap between the hull and deck. The drips don’t stand a chance against this long board, and the gap is short, near the bow, and ought to be easy to fill when I apply fillets to complete the attachment of the “minideck” where the rowing machinery goes (done! 36g of mixed resin and fast hardener with a few teaspoons of wood flour did it all; it’s only 59F down there in the boatyard; I will try not to panic if some goop doesn’t harden as “fast” as the label implies). I had an easy 30 minutes to work with this batch, so make of that what you will.
3-4 hours later: that worked! The “fast” hardener really is, and the fillets are smooth and solid (which means, among other things, that all my previous fillets are way overdone: live and learn). There’s now a flat, ~5×30 inch deck welded for the ages to the bottom of the boat, ready for whatever rowing machinery I’ve dreamt up to attach to it. All in good time (which means, I hope, in a week or two).
To go: finishing epoxy, installing the rowing hardware, and applying varnish. Then try not to drown. Simple, right?
A Note on Epoxies Down the Stretch… I have two kinds of hardener available for my limited supply of MAS Traditional Marine Resin. 510 Fast makes this resin suitable for structural work, while 320 Clear is recommended for coatings. MAS provides a calculator for mixing these components by weight rather than by the usual metric which is volume. I worked out some integral mixes for useful quantities and include them here so I don’t have to keep going back to the calculator.
Traditional Marine Resin + 510 Fast Hardener:
R22, H4 (Total 26)
R28, H5 (Total 33)
R33, H6 (Total 39)
R39, H7 (Total 46)
Traditional Marine Resin + 320 Clear Hardener:
R20, H6 (Total 26)
R30, H9 (Total 39)
R40, H12 (Total 52)
R50, H15 (Total 65)
R60, H18 (Total 78)
R100, H30 (Total 130)
Day 84
I intended to apply a final coat to the hull but as I put the boat in position, I was reminded that I had not filled the gaps at the front of the splashbox. So I mixed up a batch of fast epoxy and wood flour and did that. Then I sanded some more because I could. Maybe tonight…
Yeppers. Tonight, I applied MAS Traditional Marine Resin and 320 Clear hardener to the fore and aft decks, plus whatever pieces I could get to with the remnants (the sheer clamps, the bulkheads, the outer splashbox pieces…). I mixed up one batch and then became concerned that I had “mixed” hardener plus more hardener (I was distracted), so I mixed up a second batch and used that while waiting to see if the first batch cooked off. It did, so I applied this older hot mix to some inner pieces (the minideck…) but it did not spread well, so (1) I’m damned glad I didn’t put it anywhere prominent and (2) I probably made myself some work to clean up where I did put it. Epoxy bonds well to epoxy, though, so at worst it’s just a generous depth for sanding and secure bonding of the machinery. The fore and aft decks are coated with what I earnestly hope is their last epoxy (draw it toward the edges to prevent drips; catch whatever drips appear anyway). The decks look great! Tomorrow, assuming this coat hardens (60 degree shop, slow hardener…), the hull. Then the machinery, then the varnish.
Not so fast: the “last” epoxy did as epoxy does when applied over oily wood but only for a few inches aft of the decorative band up front. I sanded it down one more time, wiped with acetone, and reapplied a very thin coat there. If it’s thin enough, maybe it can’t do that beading up thing it does. One can hope. I hit a few other spots that looked like they could use it, including the bulkheads and the foremost foot or so of the aft deck. I used the last of the pot to apply the thinnest of coats to the walls of the office, not because they needed it but because epoxy is pricey, and it is a sin to mix it and not put it somewhere on the boat. (Someday I’ll look at this boat and will have forgotten all these little moments. Right? ETA: but not for a while. I found runs on the outside of the splash box when I went down to see if today’s epoxy had set; not quite; wiped the runs down with alcohol, sanded them, recoated using traditional resin and fast hardener, used the leftover on the bottom of the office. Does this ever end?)
Here’s a preview / retrospective / reminder of things to come so I don’t have to keep searching for it while I cut, drill, and coat the pieces. Set the Wayback Machine for November 5, last year, Sherman. …Except now I am thinking I’ve made that too hard and ought to do it differently. The scheme is OK; the design is cumbersome and can be done with a lot less wood- and epoxy-work. More when I’ve thought more.
Next:
- Epoxy the hull.
- Install the machinery while the epoxy cures completely (which may take a month). You still need to finish the stretcher bits.
- Cut, drill, and coat the components shown in the Wayback link above (or…).
- Attach the permanent pieces to the minideck, including the bungee for energy recovery. (You can keep doodling with coating epoxy inside the office.)
- When the exterior epoxy is definitely, positively cured, scuff the surface, apply varnish (Epifanes semi-gloss which ought to provide both UV protection and a forgiving finish; 4-6 hours between coats, no sanding).
- Install carrier on the Civic (or the Subaru), prepare to get wet.
- Consider UV protection for the floor. There’s plenty of time, so wait until you know what you want.