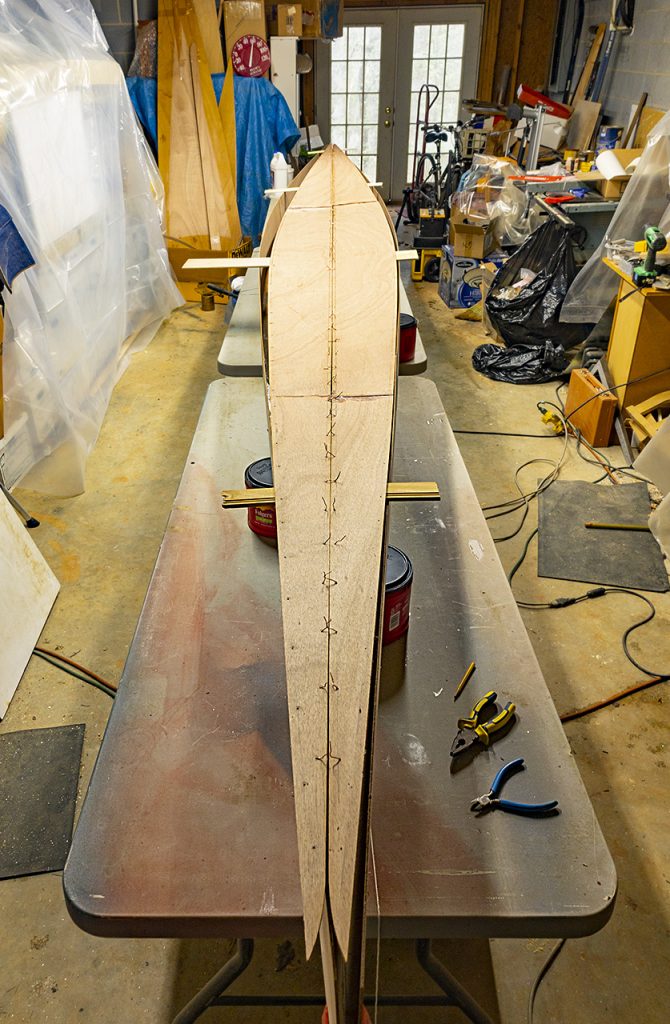
I set the stitched bottom panel on top of the still-inverted side panels and hoped that the bottom panels would open up undramatically. They did not! All the stitching along the keel line was much too tight to permit the panels to open. On the bright side, this did wonders for my confidence that the individually weak stitches, can, en masse, hold things together. I tried loosening just the obviously binding stitches but in the end simply untwisted all of them in order to open the bottom panels up.
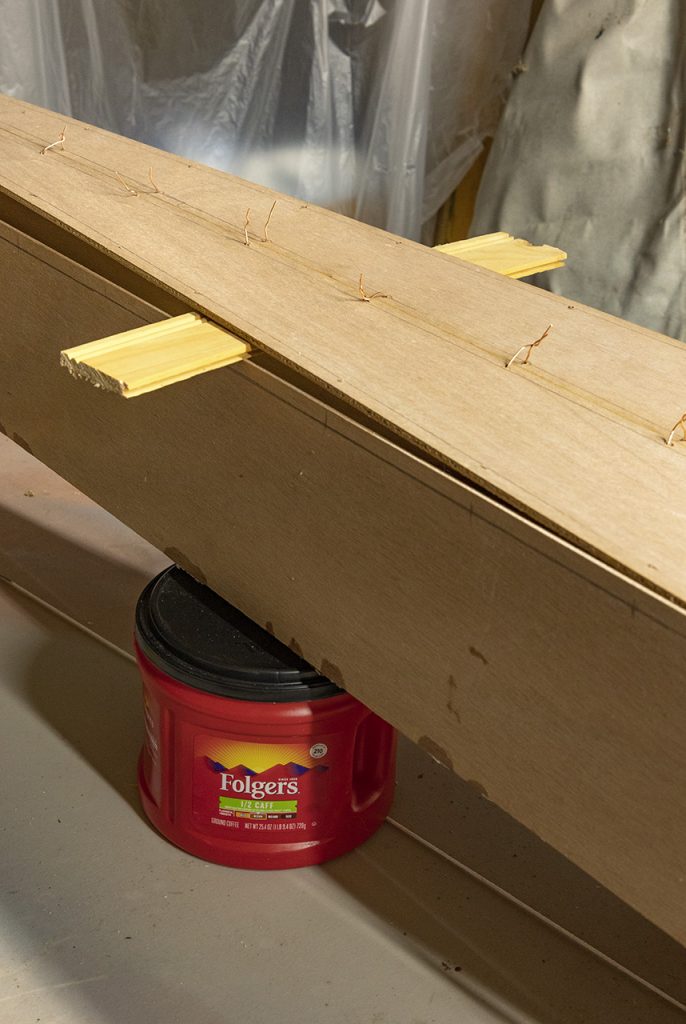
I retwisted some; others will need to be replaced. I used thin laths to temporarily support the “tented” bottom panels. (Plywood would have worked, too, if I had had the right pieces lying about; photo mounting boards, thin acrylic of the sort used as lights in framing, and brazing rods all proved hopelessly limp.) I looked (and measured) to be damn sure I had the bow of the bottom panels above the bow of the side panels. It would be a helluva thing to build a boat that was backwards below the waterline. The scarfs are shown on the plans, and the scarfs attaching the bow sections are much nearer the bow than the corresponding scarfs are to the stern.
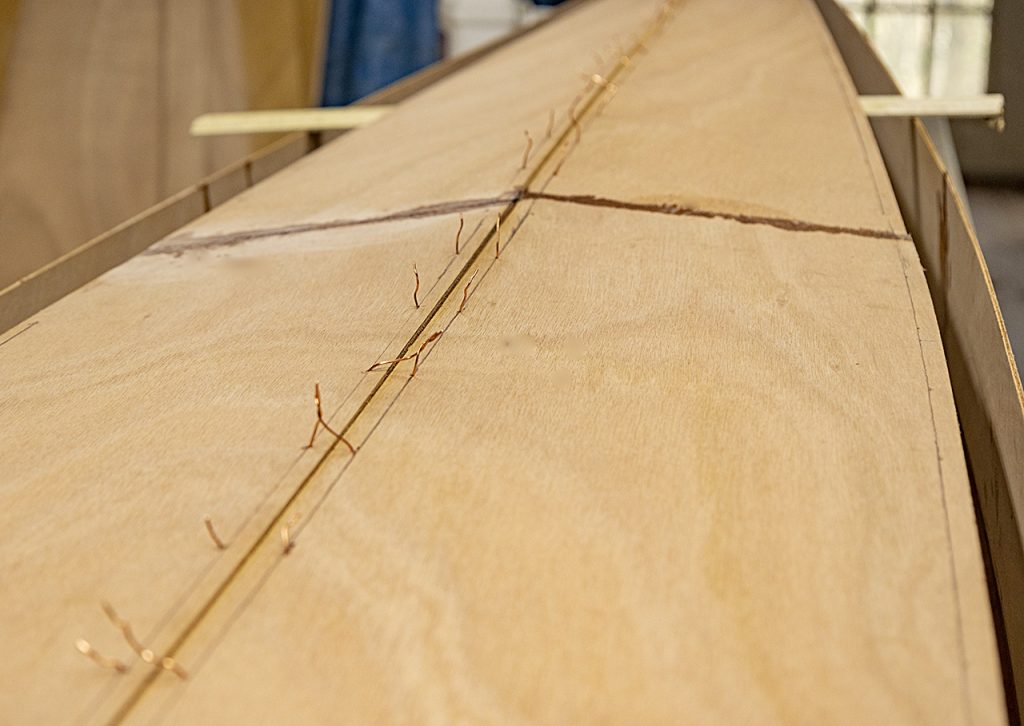
Then I slid the bottom panels fore and aft until each end aligned as near as possible to the inflection point of the side panels. If you squint, you can see how the bottom panels will continue the curve of the side panels and make the keel line one continuous curve.
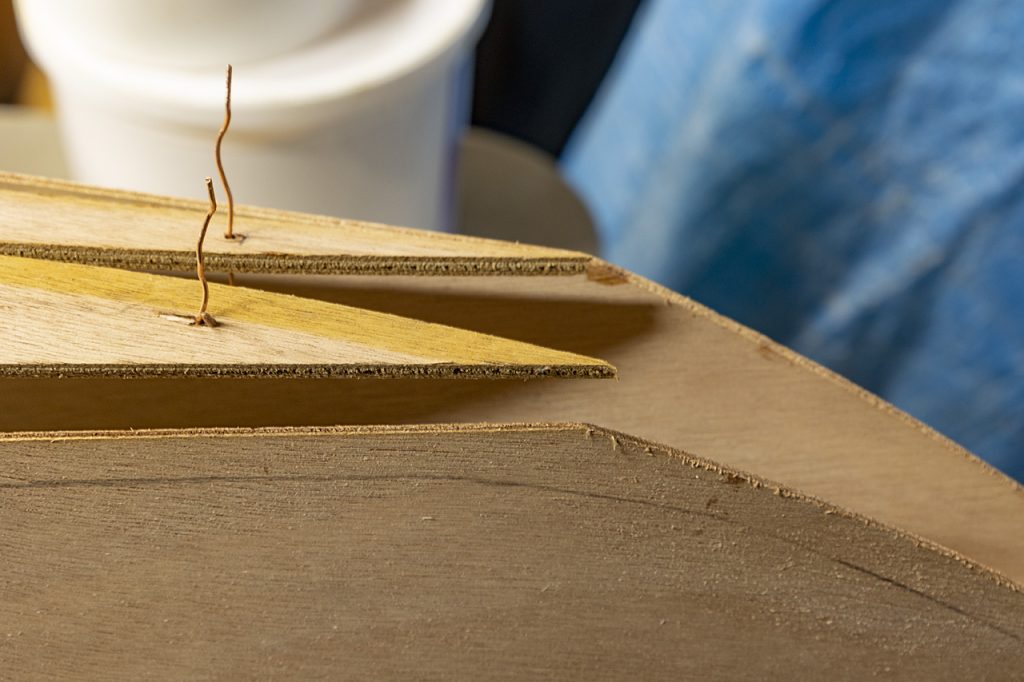
Next: Drill holes in the side panels directly adjacent each hole along the chine edge of the bottom panel. Start with a few for stability. Wire the matched holes together and work around the boat until the bottom panels are stitched securely to the side panels (not too tightly). At this point, I am not entirely convinced that the 20-inch spreader bar must remain in place or exactly where it’s place is and whether the hull shape is really going to be plausible once stitches are in. Doubter.
With the bottom and side panels attached, the entire hull will be standing there on the work table, albeit capsized and separated at the chine. A few stitches will hold the pile in place. The more stitches the merrier. (Why stitches anyway? Why not tape? Think about that, but use stitches, ’cause there’s no reason to reinvent the whole method from the vantage of perfect ignorance.)
…
Y’know, stitching might be easier with the boat upright (opinions vary, consensus seems to be that hull up is easier). Sooner or later, when the two sets of panels are well and truly stitched together, the boat has to be flipped to install the bulkheads, for the “winding” check, for the subsequent epoxying of the seams… for everything except glassing the hull. Oh, and remember to cut out the circular bulkhead openings before installing them (forum advice); the hatches are on the shelf by the miscellaneous bits (the skeg, for example). Work up the supports for the winding inspection and the tightening of the stitches (I’ve thought about that long enough; just pick an idea and see if it works). And, and, and… I’m doing it again. Don’t even try to think about everything at once. Study first, cut, drill, and glue later. One step at a time.