The last pieces are here for the sculls, but I wasn’t expecting them (Labor Day…), so I plunged ahead on a different project: I put the afterdeck on the boat.
done what I’m doing now.
The kit directions seemed a little sparse, and many otherwise helpful YouTube videos give short shrift to this step. It’s a busy little while, and apparently nobody wants to mess with a video camera while dealing with the decks. I worked out a recipe in my head last night, wrote it out, and then followed my own directions this afternoon. See below.
Since it was my last chance to fix any damage that might occur while cleaning up the pass-throughs, I warmed up by doing that before attaching the deck. I ran a 3/8-inch drill through openings in the hull, letting the steel inside each pass-through guide and center the bit as it punched through the glass and plywood. If anything had ripped out or left an opening into the hull, I could fix it internally. No such issues arose. I pushed and pulled a 3/8-inch threaded rod back and forth to be sure the tubes and holes were really clear and tolerably aligned. The hull and the deck will both get a good sanding and recoating, and varnish will eventually be involved, so appearances are nowhere near final yet.
Then on to the main event:
- Dry fit the deck: align it with the bulkhead and at the stern (or bow).
- Make sure the jig for finding the center of the sheer clamps can do so all the way around.
- Tape the deck in place (a very temporary state).
- Drill and place three screws: two very close to the bulkhead and one at the end.
- Remove the tape.
- Using the appropriate CLC-supplied jigs, mark the spots for deck screws every 4 inches. A center punch might be better than the felt-tip marker I used, but it worked just fine.
- Back the screws out of the sheer clamps (leave them in the deck, in fact, screw them part way back down so that they protrude from the underside of the deck — they’re registration pins when time matters).
- Mix up plenty of wood-flour-thickened epoxy. The famous “peanut butter consistency” will be best. For the aft deck, I used 5, 25, and 60 (fast hardener, slow hardener, and low-viscosity MAS resin) for a total of 90 grams of goop. That was slightly more than I needed. Based on this experience, it would not be quite enough for the bow. I used a large, flat pan to mix the epoxy to keep it from cooking off in a more compact container.
- This is where it’s important not to mess around: spread epoxy on the sheer clamps and the top of the bulkhead(s), and promptly…
- …put the deck back in place using the three registration screws; back them off one at a time and reinsert them to lock things in place.
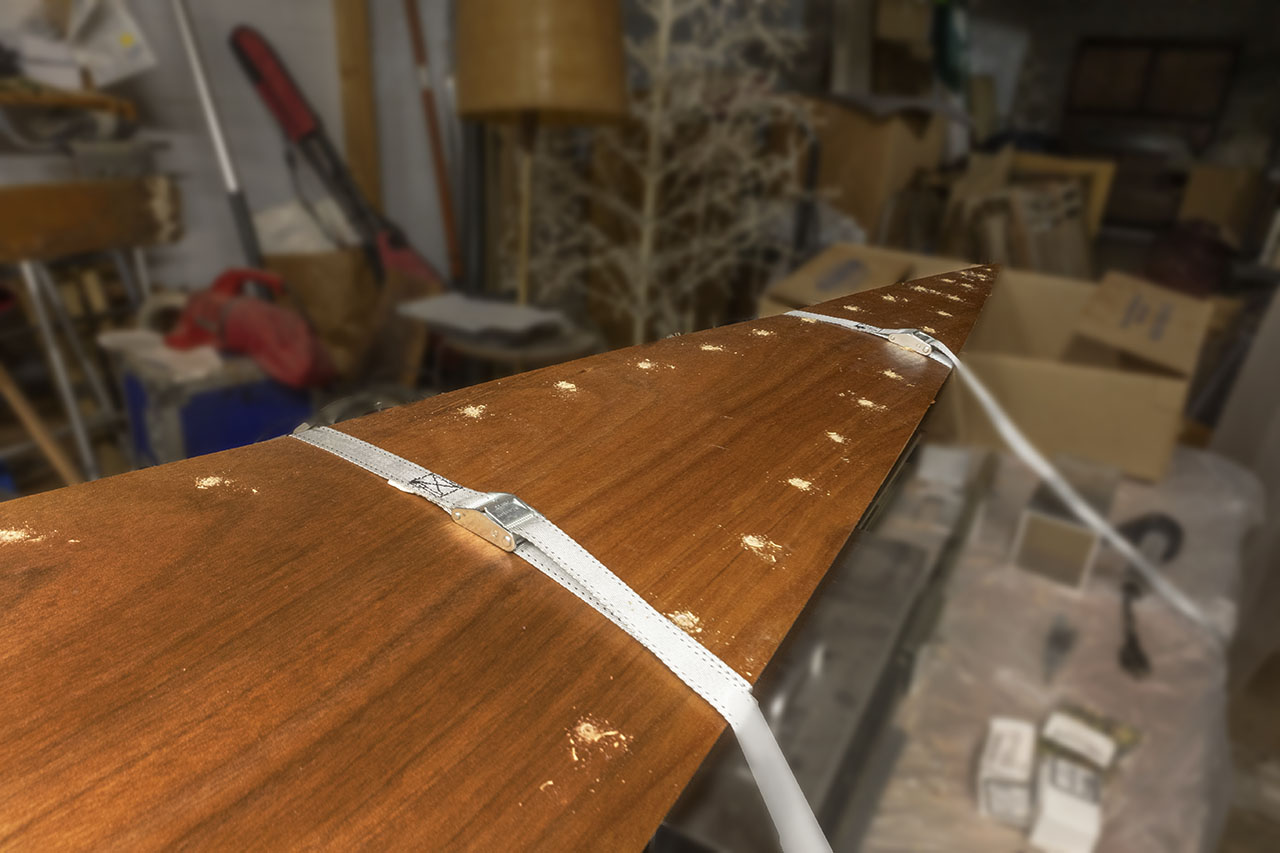
- Put some tie-down straps around the hull and deck and pull them tight.
- Drill the rest of the holes, then place all the screws. Countersinking is not required; they’ll easily pull flush with the deck (or lower if you’re not careful).
- Remove the straps if you like.
- Clean up any epoxy that may have squeezed out where you don’t want it.
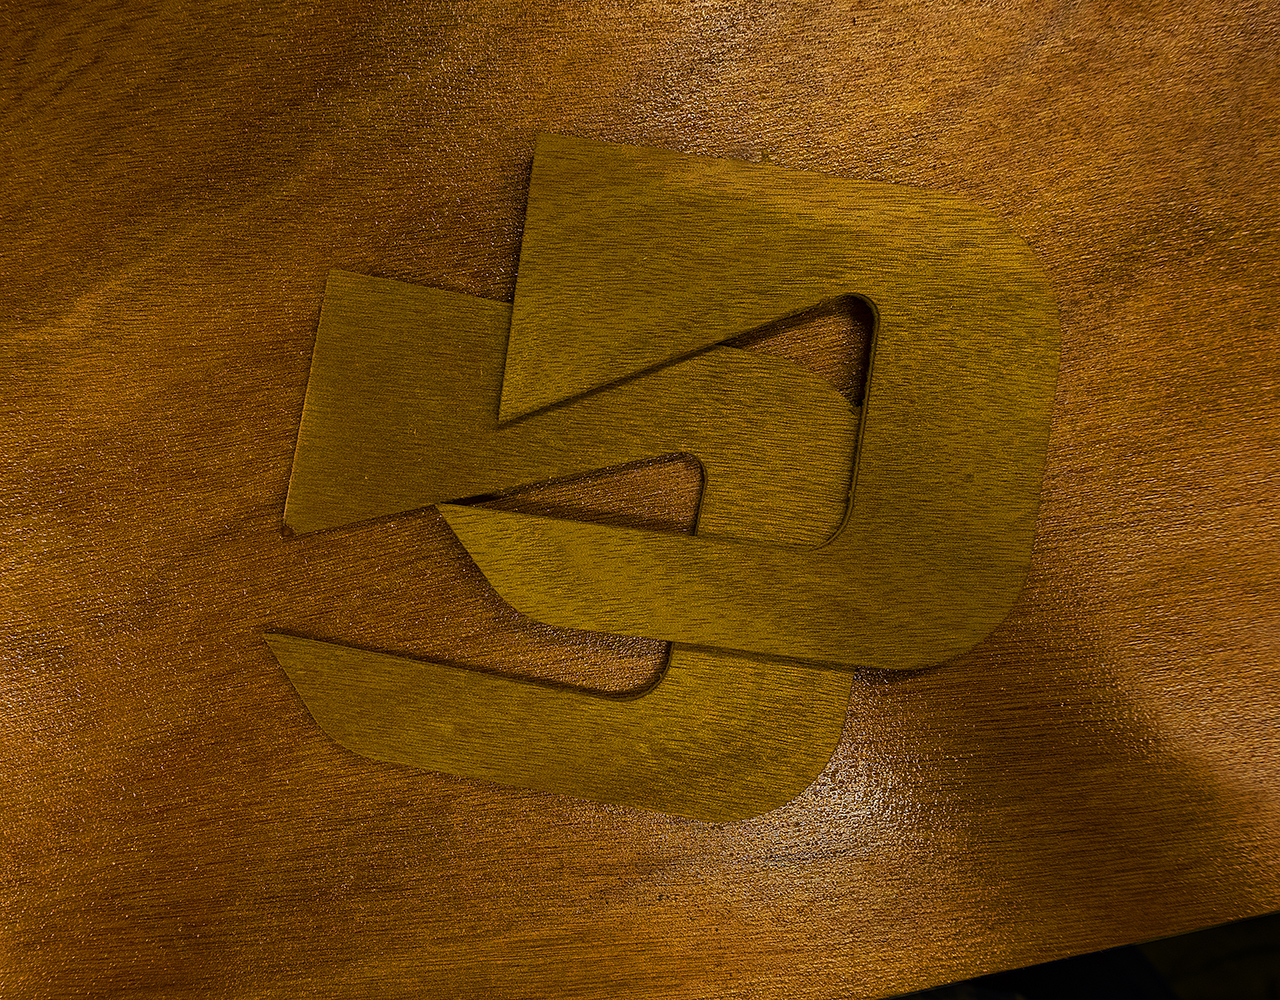
- Using the jig for locating the edge of the hull (see photo above) run a pencil line all the way around the deck. Eventually, I’ll trim to that line with a jig saw, planer, and / or sander.
That’s a lot of instructions, but it was a piece of cake. I’m going to let the epoxy cure before I do the bow to be sure all is well. And I’ll recharge the drill because I do not want to run out of power in the middle of a time-sensitive step.
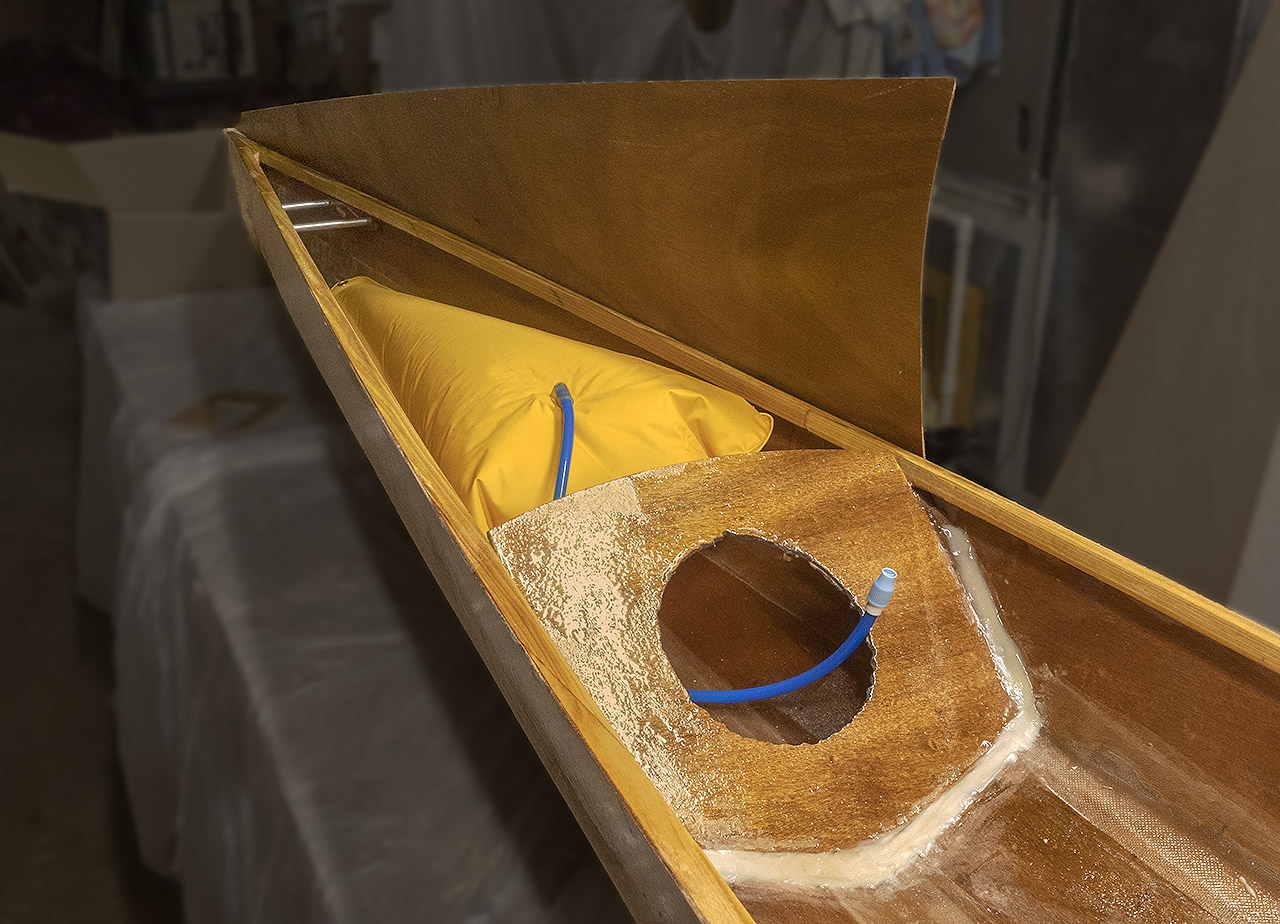
flotation bag after making sure it can be reinstalled through the hatch.
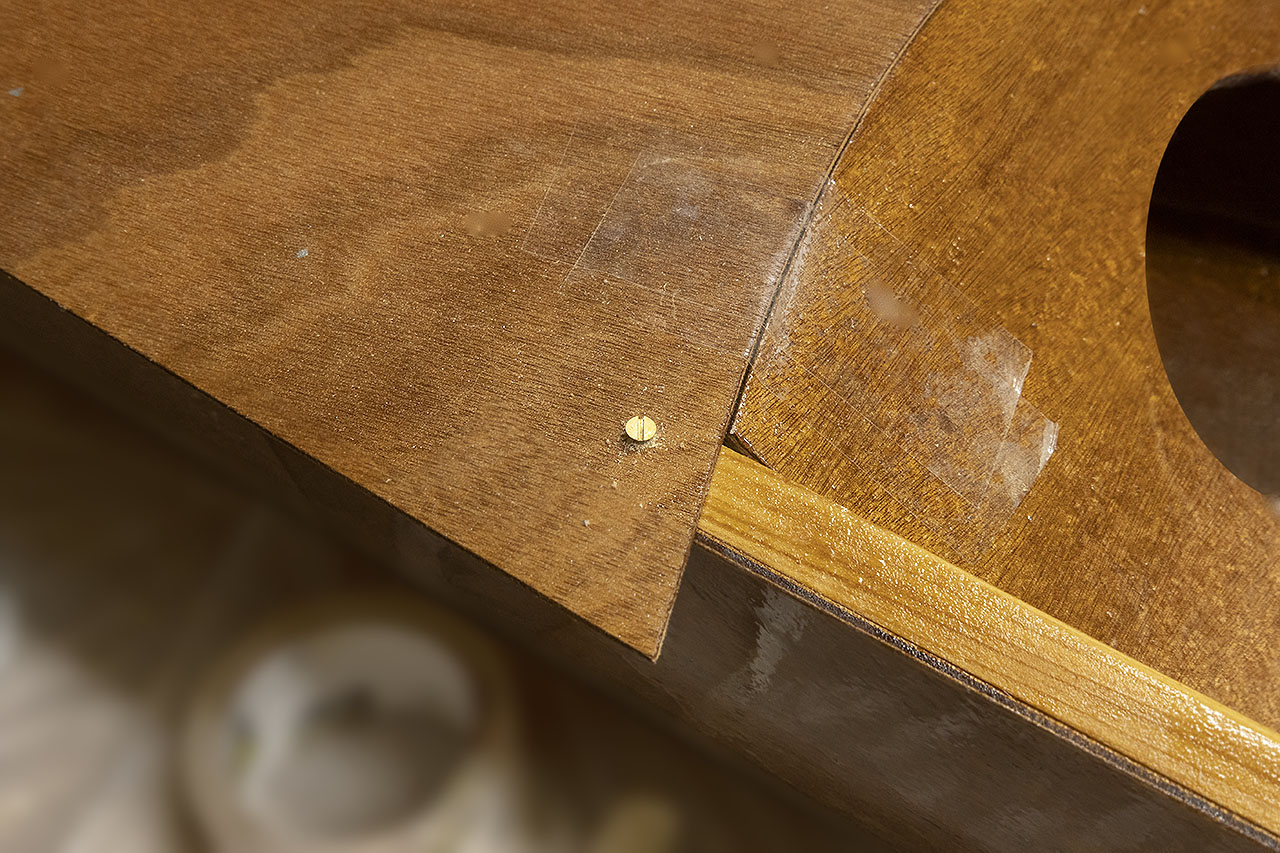
the upper left for more screw holes.
Ready for screws.
Next: the bow deck and one of the sculls and then the other scull to match.
Except that I am short of deck screws for the much larger bow section. I just miscalculated. I’ve got the three registration screws down, but need more than the 40 remaining to finish the deck. I gave some thought to spacing the screws a little more widely than the 4 inches specified (6 inches for the first 18 inches forward of the bulkhead, then every 5 to the end), but when the offset measurements to the sheer clamps came in inconsistently, I opted to just not do anything more except wipe away the marks I had placed (alcohol and a shop rag) and do it all afresh and right in a few days. I left the deck strapped down, and will use this break to wonder if I need to lower the thwart some or raise the top edge of the bulkhead to its design height (recall there were a lot of shenanigans about that bulkhead back in the beginning). The new screws will be here Thursday (I’m telling this on Monday night), so there’s time to think. And if thinking gets too hard, I can finish the sculls between now and then.