It took all of 15 minutes to plane the sheer clamps with an economy-model power planer picked up on sale from Amazon (real hand planes cost more and take real skill; this thing just takes 110 volts and some nerve).
I screwed the thwart into the bow, then epoxy-coated the parts I had just assaulted with the planer. I sanded the sheer clamps in the corporate headquarters to ease the edges. I epoxy-coated them for protection and the rest of the sheer clamps, too — inside and bottom for water-proofing, top to improve adhesion with the underside of the deck. Soon.
I mixed up some more epoxy and painted the inside of the hull where it’s about to be sealed up. This was probably unnecessary. But I saw areas that didn’t look completely coated. And I’d failed to saturate some of the tape back in the long ago. All the epoxy mixes were half fast, half slow, and that works great. Of course, I am almost out of slow hardener, so, it figures. Fast will be fine just as long as I, uhm, work fast.
Everywhere I looked today, I saw nooks and crannies and thought, see? That’s where water can get to the wood and rot this boat out from under me. When I’m 92. Still…
This leads me to today’s Profound Insight: a paranoid boat is a heavy boat. You want to build a light stitch and glue hull? Then be thorough with wood prep at each step. That way you won’t feel obliged to keep adding dabs of epoxy here and there “just in case.”
Day 45
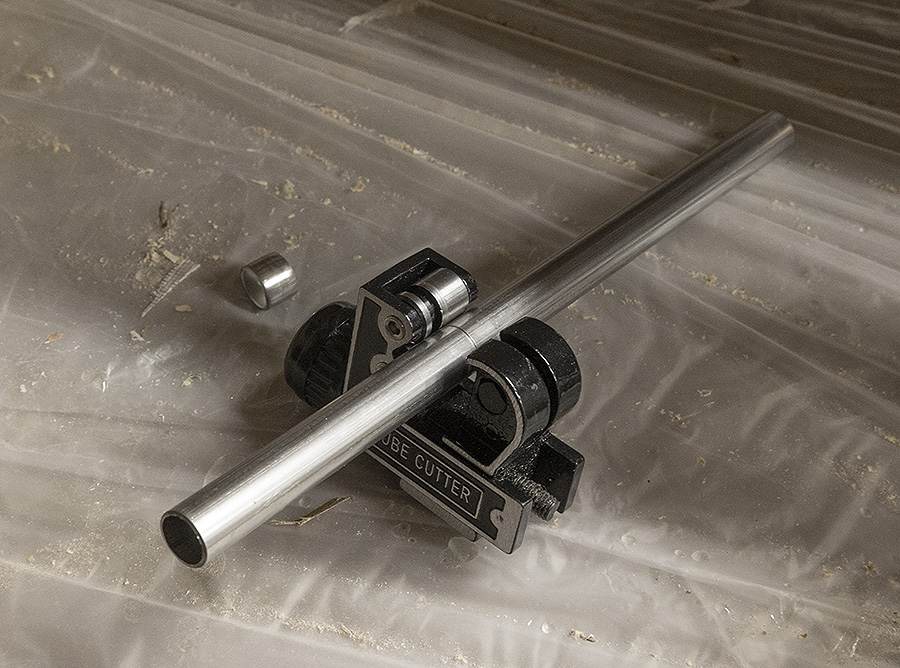
Profundities aside, I drilled wood and cut stainless steel tubing for pass-throughs, bow and stern. These will be used to mount wheels for hiking to and from the launch, to host grab loops and camera mounts, for tie-downs, for who knows what all.
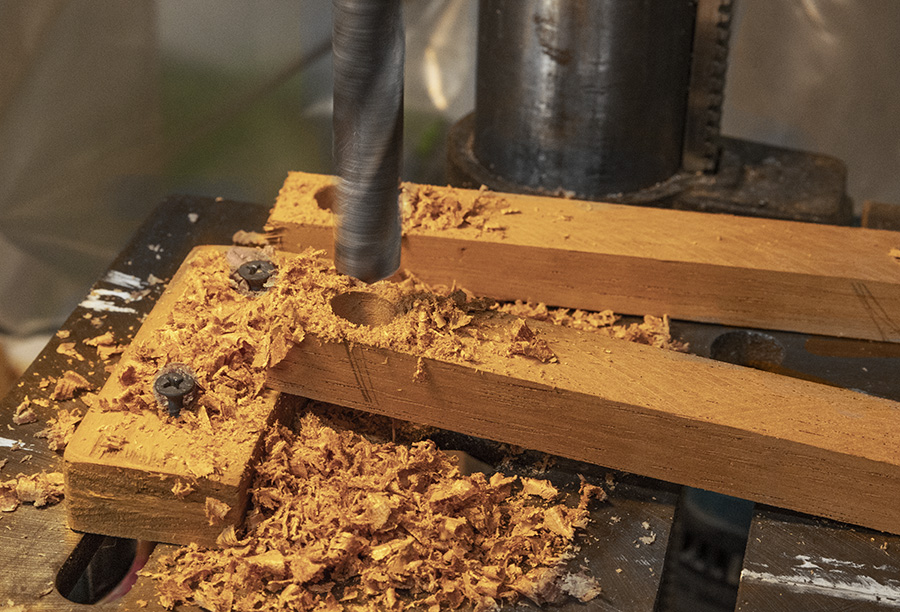
Block at left props receivers at an angle that approximates the convergence of the
hull at bow and stern.
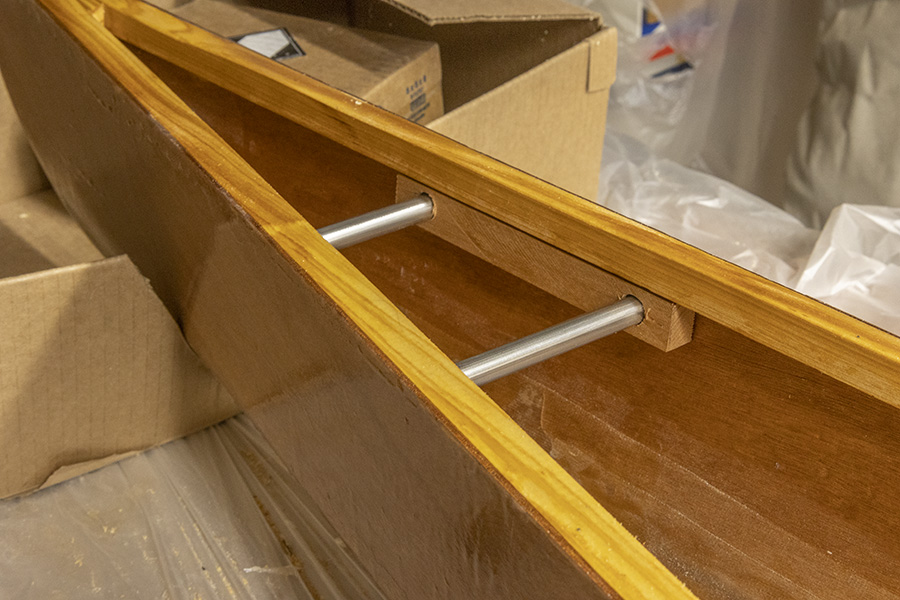
Now I just have to be damn sure that I can locate the right spots to drill through the hull for access to these steel-lined passages. Measure fifty times, drill once?
And done! I borrowed a framing square from the photography department, begged the use of a micrometer and a center punch from the metal shop, and used a hand-held electric drill to open up 3/8-inch holes on the center-line of each of the four pass-throughs. Spot on; I’m 8 for 8. Those are supposed to be 1/2-inch holes, but I wasn’t 100% sure I could nail the centers. They’ll be a cinch to ream out and clean up now that the holes are well started and within about a 16th of where they belong. Reinforcement, cushioning, ingenious fittings for all sorts of purposes can wait until the hull exterior is sanded and finished. I’m still deciding between varnish and paint, but I’m leaning toward varnish (in part because it will be easier to change to paint later if the varnish proves to be a mistake than it would be to sand off paint and return to a natural finish).
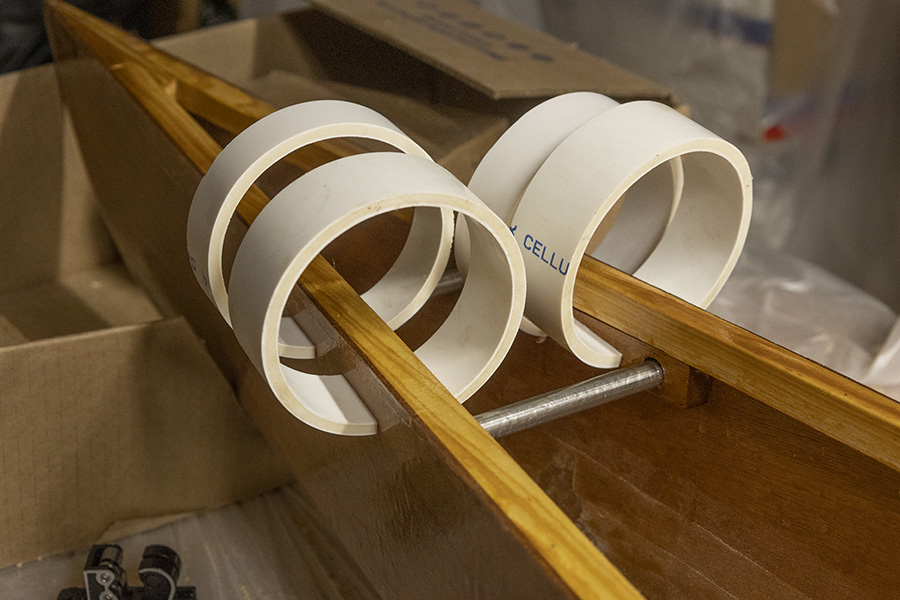
Also today: I ordered some pigment for the “demilitarized zone” where the grain patterns do not match at the bow. I’m thinking “copper,” but I’ll audition some colors before committing. I also ordered a set of Seattle Sports sea kayak flotation bags for the bow and stern. That may seem premature, but summer is ending; they’re on sale, and they might be hard to find in weeks to come. I’ve used these before and they’ve held air for years. The ones I’ve just removed from my sea kayak could’ve been reused in the shell except that the inflation hoses grew brittle and broke after, what, 35 years? These bags are lighter and more effective than the pool noodles I had been considering (though noodles may yet have a role to play as training wheels if this thing is tipsier than I expect it to be).
Next: decks. I’ll do the afterdeck first since it’s flatter, shorter, and is ready to install. The foredeck will need to wait till the Black Diamond epoxy pigment arrives next week since it will be easier to prepare flat than curved. And I may just wait to do the decks together.
For the supply list: putty for the hatches, silicone adhesive for the skeg. Both are crucial, but there’s no hurry on either since neither is called for until I actually hit the water. For the receipts: $41 for the power planer, $16 for the finishing saw, $13 for the tube cutter, $55 for float bags, $20 for pigments.
It’s not too soon to start shopping for sculls. Concept 2’s “Bantams” are about the only affordable new sculls ($350 +shipping), but Adirondack Rowing offers used composite sculls (Dreher, Concept 2, Braca Sport) for similar prices and similar shipping. The also offer wooden sculls for much less, though by the time shipping is added in, the difference may not be as dramatic as all that. I drafted a note to Adirondack to ask for their suggestions, and then, rather than dwell on it, I sent it. More when I know more.
For sometime on down the road, now that hardpoints are a fait accompli, consider the Insta 360 modular cameras, available new for vaguely affordable prices and used for really tempting ones (but those are just first impressions of a complicated camera in a complicated field). It would be best to know that the boat will float and that I can propel it before going any distance in that direction.