I think I have hit upon a strategy to keep momentum going and avoid the feeling of being overwhelmed. When setting about the work you mean to accomplish on day N, do the prepwork, insofar as you can, for day N+1. You can do it first, during, or after. Today I aim to glue up side panels, but tomorrow I plan to attach the sheer clamps to the side panels. For that, I will need a lot of clamps. So rather than just diving in to today’s work and bogging the shop down with bulky pieces that can’t be moved and oughtn’t be bothered, I first made clamps so that tomorrow I can proceed apace.
…
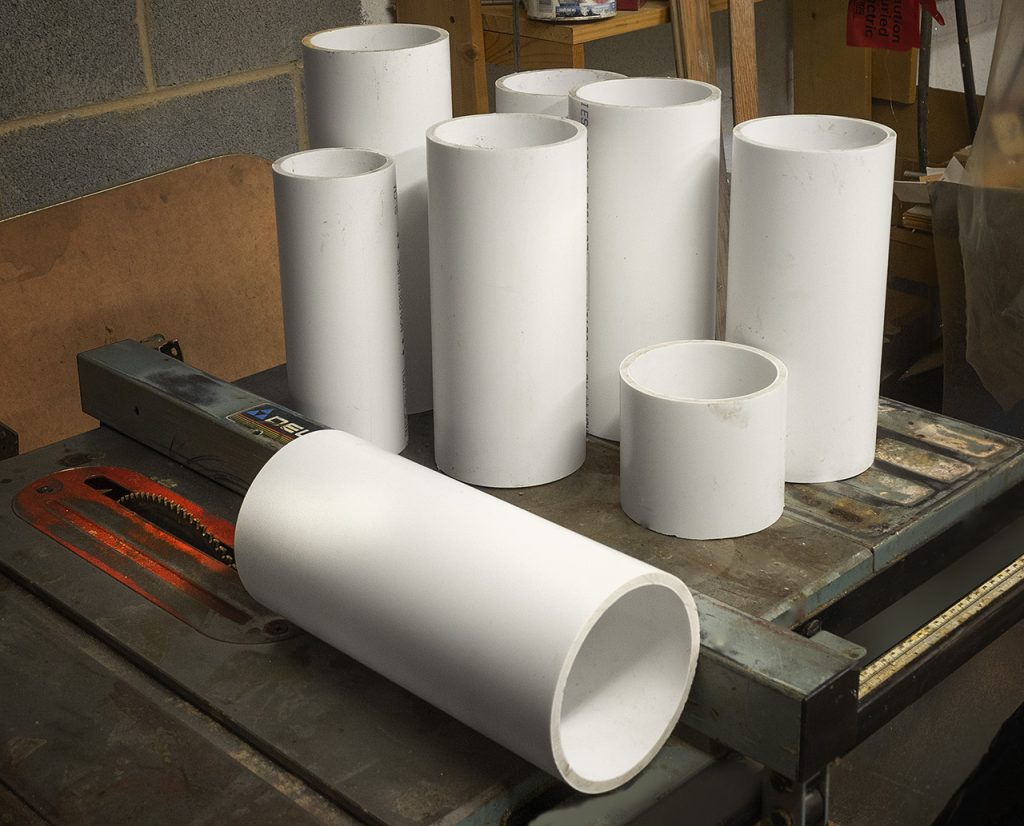
Tip: when slicing a length of PVC on the table saw, raise the blade just far enough to go through the wall, and don’t try to cut more than about 12-15 inches of pipe at a time: you’re making clamps; they clamp the blade; you can get an awful kick back once they decide to bite down.
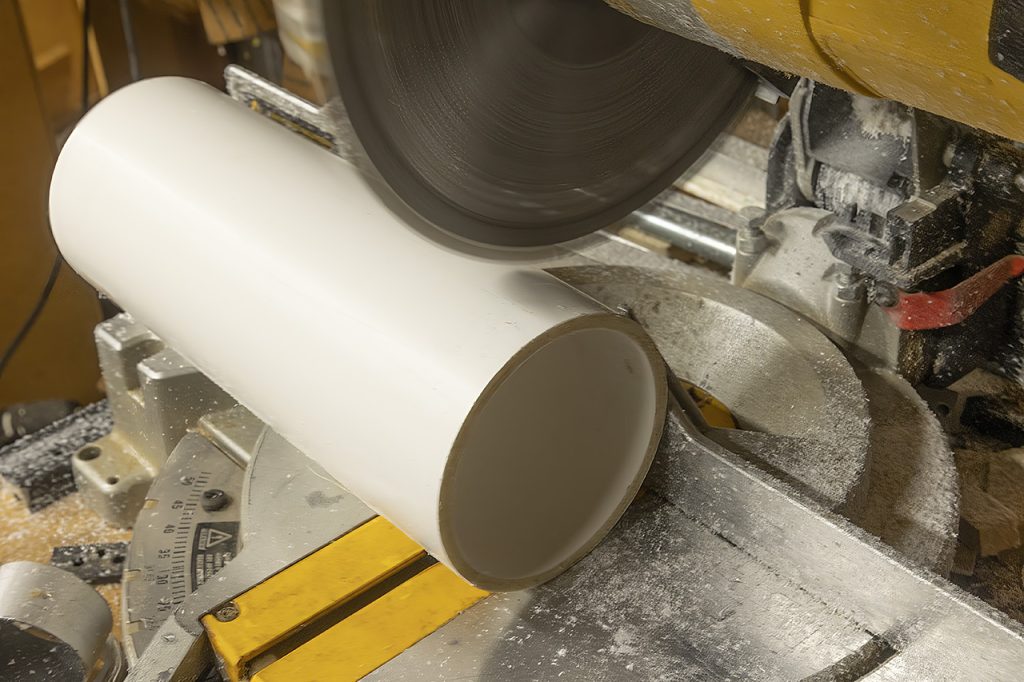
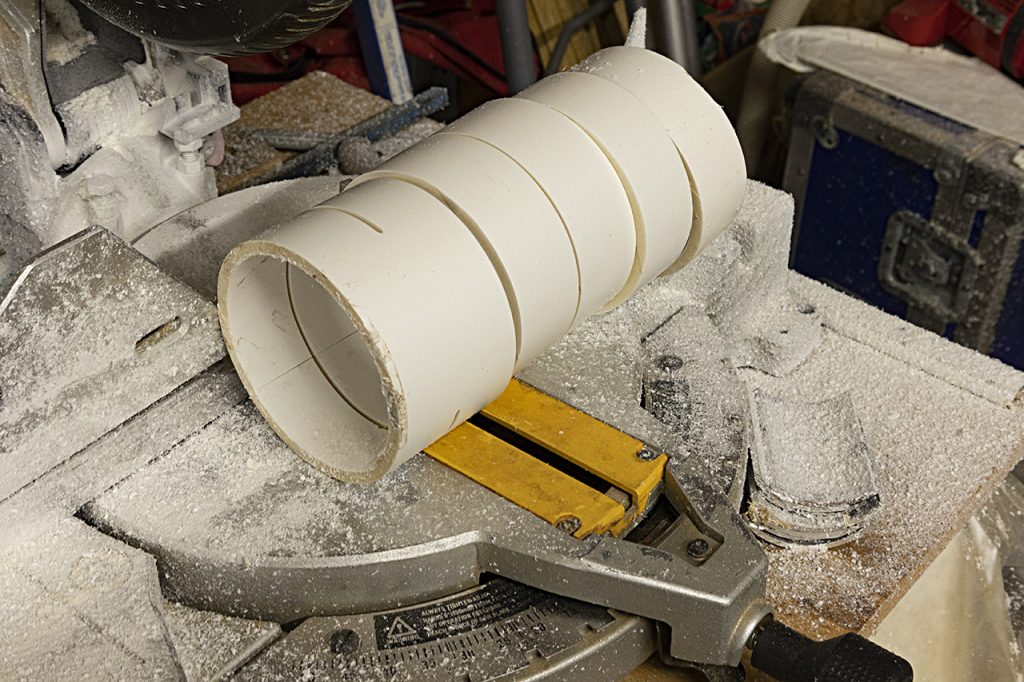
After the lengthwise slice, do these transverse cuts.
…
…
If you ever need a fine, powdery snow for special effects in photos, make PVC clamps. The chop saw makes artificial snow in drifts. Today, I spent about twenty minutes boxing up clutter that had settled on the table saw; five minutes slicing the PVC lengthwise; ten more to cut the clamps on the chop saw; and at least forty-five to shovel suck artificial snow into the ShopVac.
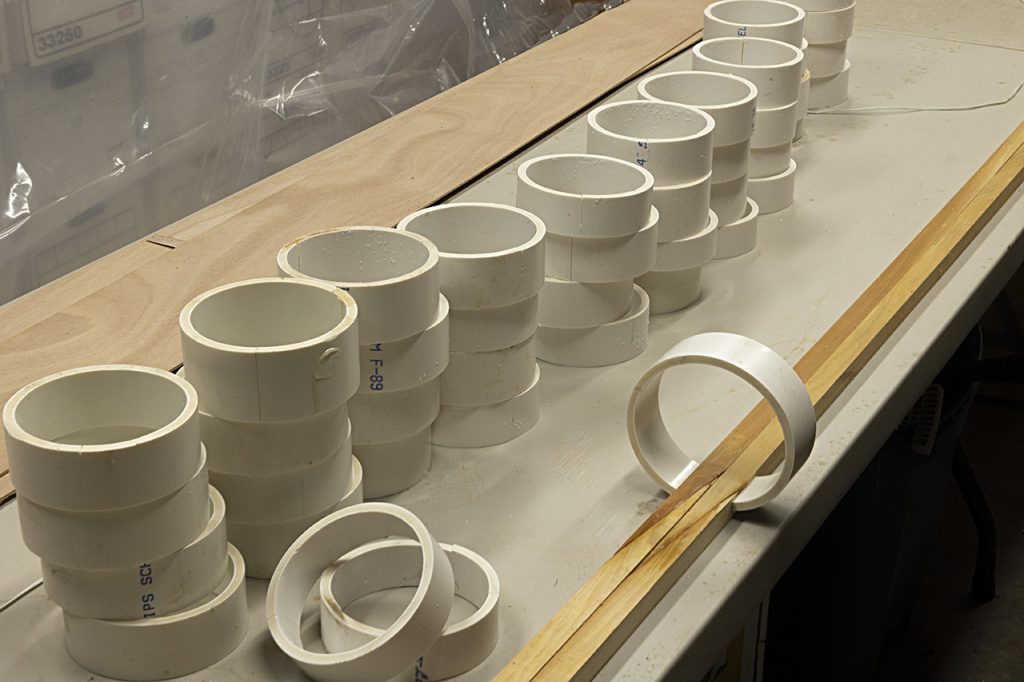
I now have 46 PVC clamps and whatever “regular” ones are in the clamp box. I’ve held back a few pipes in case I need some “customs.” Bring on tomorrow’s work. As for today’s, read on.
The side panels.
CLC says not to simply align the scarfs and call it good enough. Later on, they tell you to use a taut string to set the offset for the bottom panels, so I thought this would be a good chance to practice that alignment method. In this case, the edges of the side panels are supposed to line up in one long, straight edge. So, done. For the record, the temperature in the boatyard is 62°F today (and, I now add, the same at midnight). I mixed 12g of resin and 6 of hardener, painted the scarfs in the side panels, made the Dagwood sandwiches as described and as sketched in yesterday’s plan for today, and voila:
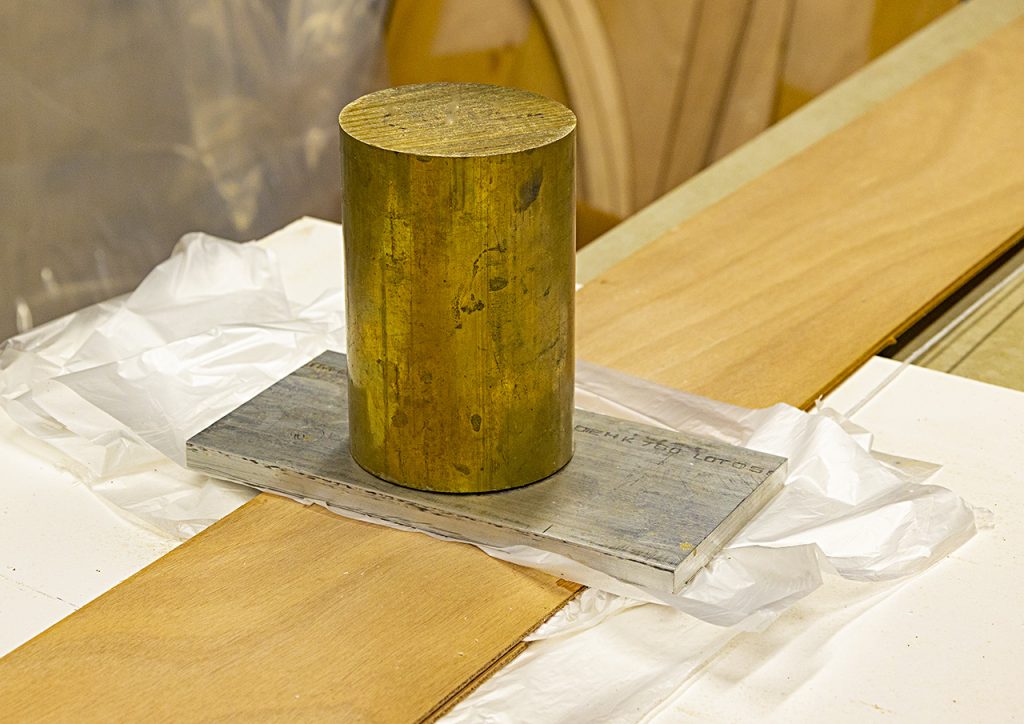
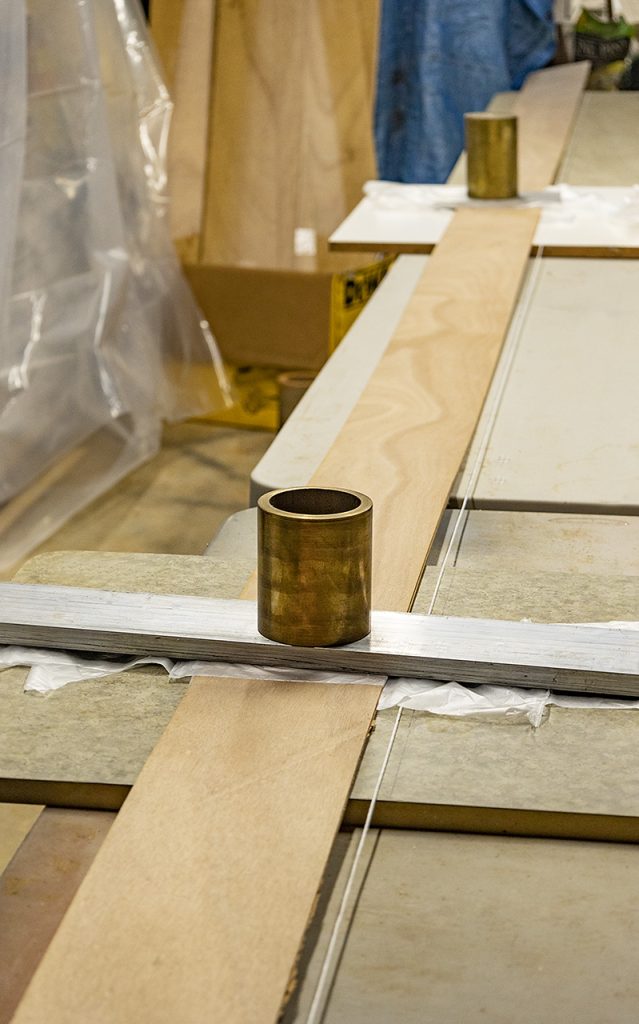
scarf joints in two stacked side panels beginning to bond.
Plastic film prevents bonding between surfaces that I’d rather didn’t.
…
…
I stepped away from this assembly at 3:30 PM, so sometime tomorrow afternoon, I can take a peek at the witness pot and then at the results. Later tonight, after the epoxy begins to set, I think I will increase the weight pressing the scarfs together. I started out with the weights on the light side out of concern that too much of the low-viscosity epoxy might be forced out of the joints. Once it begins to set, I would prefer that the gummier mixture be pressed into the wood. I added 50-100% by adding steel and brass about 8 hours into the cure.
Apparently, I am becoming something of a neatnik about this project. For the first time in a decade, I changed the bag and the filter cartridge in the ShopVac.
Tomorrow
with any luck, I’ll get to attach the sheer clamps to the side panels. The day after that, I’ll trim the sheer clamps to meet at the bow and stern, wire or screw them together, and insert spreaders. At that point, the project will begin to look at least a little bit boatly. I’ll also need to read ahead and internalize more steps. I know what a lot of them are, but I’m a little hazy on the order of operations.