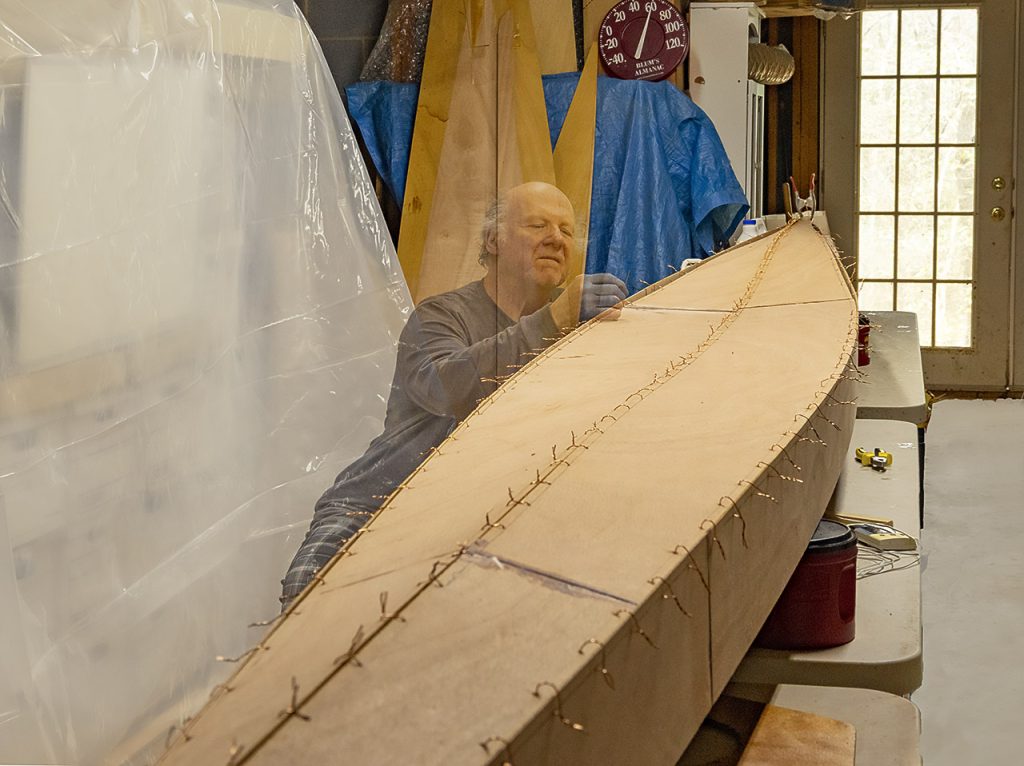
The stitching in “stitch and glue” is done (or all but done: the bulkheads are unstitched, but that’s 8-12 stitches to go, 4-6 per bulkhead). Adjusting the stitching, that’s yet to come, but drilling, squinting, threading copper wire through plywood is largely at an end. Considering the 3mm thickness of the side panels and the 4mm thickness of the bottom panels, the total drilling comes to 1.3 meters. The combined length of 3-inch wire segments would be 45 feet. The kit included 50 feet of wire. I used more than that (though not much more) since I had to replace a lot of early, too-short stitches and then, late in the game, I became profligate in the service of adjustability.
…
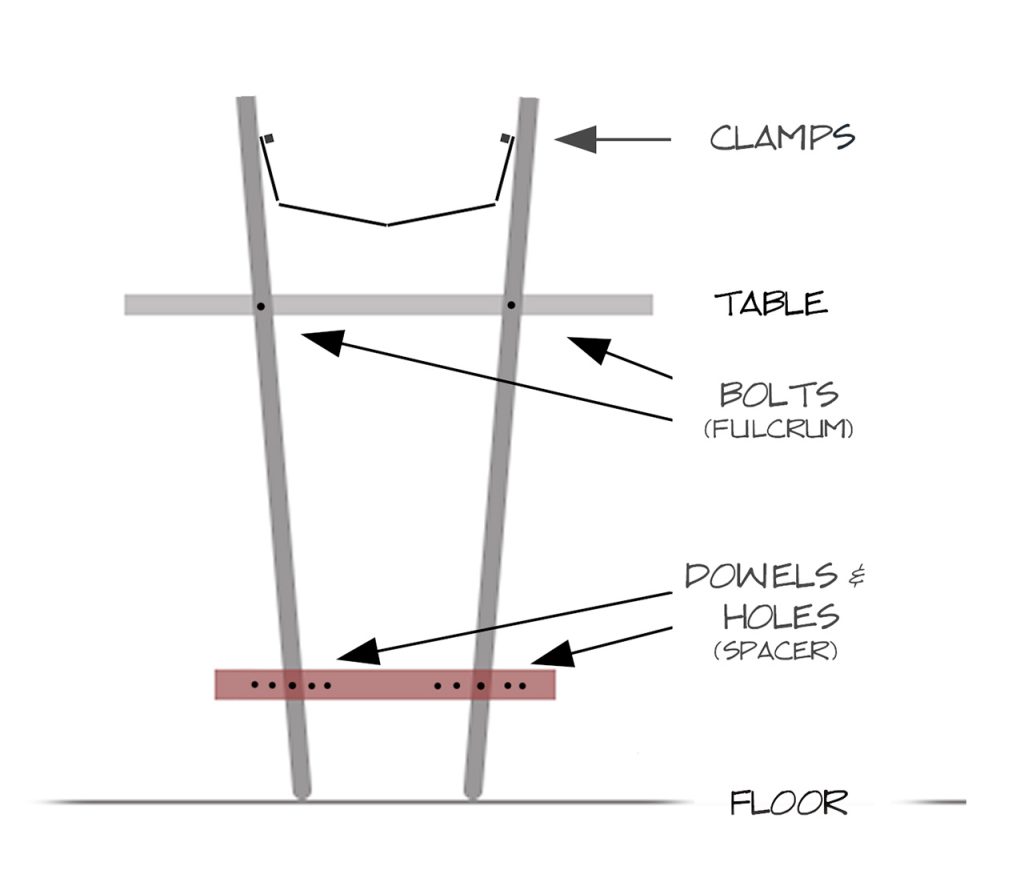
Next, I’ll whittle on the bulkheads until they fit “loosely” and then remove them to refinish their surfaces and be ready to stitch them into place. Then I’ll flip the boat and suspend it from uprights made from oak flooring and the ends of the work tables. This is not to scale, but it shows the schema I have in mind:
At that point, I’ll set right a few of the “upside down” stitches in the bottom panels, check winding, and get down to adjusting the stitches to make decent hull lines. When that is done, I’ll get on with the glue part of stitch and glue — this weekend with any luck.
Well, that was a nice idea, but the spacer bar with holes for dowels in the uprights was a bit too cute. Better to use clamps to hold the spacer bar and let that piece be the floor contact.
Amy and I flipped the boat, and I trimmed the uprights until my current collection of clamps included four large enough to suspend the boat a few inches above the work surface. I fixed the upside down stitches in the keel line.
Issues
I squinted at the bulkheads to see what further adjustment they need. The forward bulkhead stands about 1/8 inch above the sheer clamps; the side panels contact the bulkheads; I’m not sure the bulkheads properly establish the shape of the bottom panels (should I think about making some cardboard templates to cut extra plywood to put in place in those small areas?).
The gaps at the bow and stern are slightly alarming. They might get smaller with adjustment, but I want a Plan B to fill them in case they do not. Filler and glass would likely suffice; additional wood would be better. Or maybe all will be fine.
The “winding check” actually looks pretty good. I’ll try it again more carefully. The last few inches of the stern seem slightly deformed; maybe the taper cut where the sheer clamps meet is flawed. Double down on the stitches and then adjust it. Finish by epoxying the tips.