The tape to pull the side panels inward to help with stitching was an interesting notion, but it didn’t help. The trouble turned out to be that the bulkheads were simply too large. The directions say to trim or move them slightly if needed. I needed.
I put the 20-inch spacer back in halfway from bow to stern and then pushed, nudged, shoved the bulkheads into place. The spacer fell out. It wasn’t even close. There was an extra 1.5 or 2 inches there! So I squinted at the way the bulkheads fit. The boat’s beam is set by the distance between the edges of the notch where the sheer clamps pass the bulkheads. I chiselled, sanded, and otherwise trimmed the notch back by about 1/2 inch (that is, by 1/4 inch on each side). I adjusted the notches until the spacer just touches both sheer clamps. That, I think is as it should be.
After deepening the notch in the tops of the bulkheads, the sides of the bulkheads became critical: they hit the side panels and distorted the lines and made mating the bottom and side panels tough. I sanded the sides of the bulkheads, rounded them, preserved the shape as best I could (but I did not obsess about it). I kept that up, shaving a bit off the notches and then the sides, and when the sheer clamps neatly fit in the deepened notches, and there was a little room between the bulkheads and the side panels (to be filled with epoxy fillet and maybe fiberglass tape), lo and behold, the bottom panels just about met up with the side panels. I left the spacer in place and removed the bulkheads. I am prepared to adjust them more if things are too tight during steps to come (see Day 16).
I am back to stitching. This time from the stern toward the bow, threading copper into every other (or sometimes every third) hole starting about 18 inches from the beginning of the bottom panels. I am working up both sides of the boat, never letting one side get far ahead of the other. The string baseline provides a reference again. Both the side panels and the bottom panels align with it. Spring clamps hold the ends of the bottom panels “almost vertical” as the directions say. Plywood sheets support the bottom panels on top of the side panels. It looks as if the stitching might work this time. After working halfway along, I called a pause so as not to let this get too tedious…

…and returned for another 2-3 hours in the evening after which the stitching is 2/3rds done. 40 or 45 stitches remain in the side panels (out of approximately 120). Some stitches had fallen out of the keel line that joins the bottom panels; I managed to replace a few properly (that is, inserted from underneath and twisted outside the hull) but I inserted half a dozen inverted (twisted inside the hull). I will replace the upside-down stitches after I turn the boat right side up. I’m stopping here so I can pick up with a familiar task
Tomorrow.
After finishing the stitching, it will be time to flip the boat, suspend it by the sheer clamps and look for winding. Then comes adjusting all these stitches to make sure the lines are fair. Then I could do the bulkheads for real? Or is seam taping next? Time to consult the book of the boat. But not tonight. And then sanding and filling and smoothing.
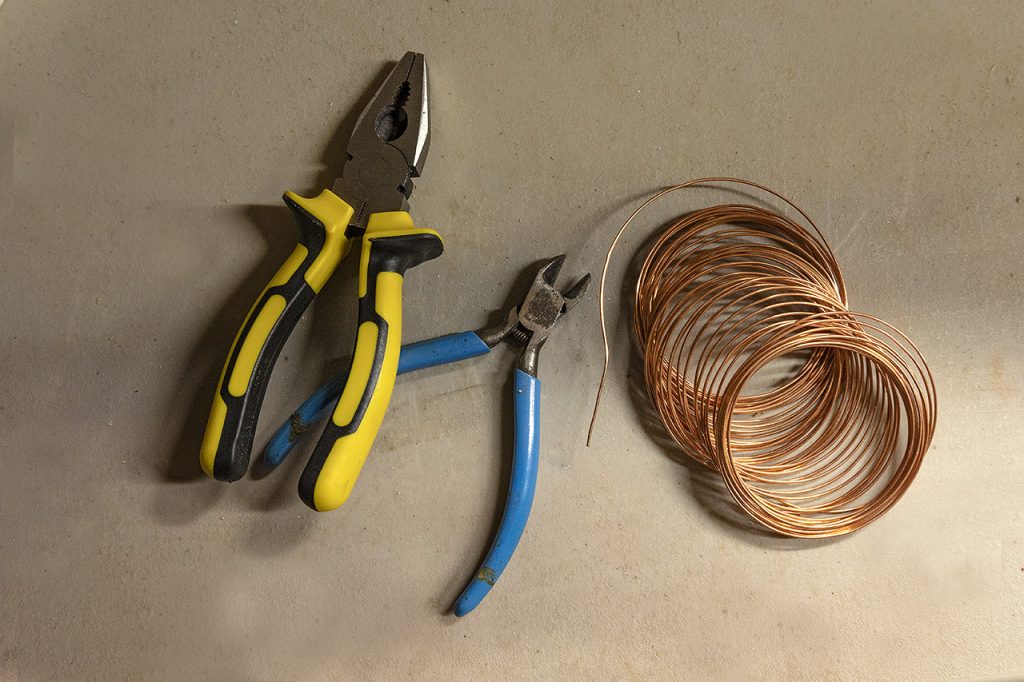
Here’s another tip from an unqualified source: buy extra 18ga copper wire. Not because you need it — though you might — but because you will not be overly frugal with it if you know you have plenty. Four-inch stitches leave a lot more maneuvering room than three-inch ones do, especially if your three inch stitches tend toward two and three quarters. Longer pieces of wire are easier to work with than shorter ones; they preserve options, and they’re just less of a headache. Also, buy lots of 1/16-inch drill bits. Cheap ones will do. Sharp ones will do better. You’re going to break some, but probably not so many that you have to go as cheap as I did. Total broken so far: 3.
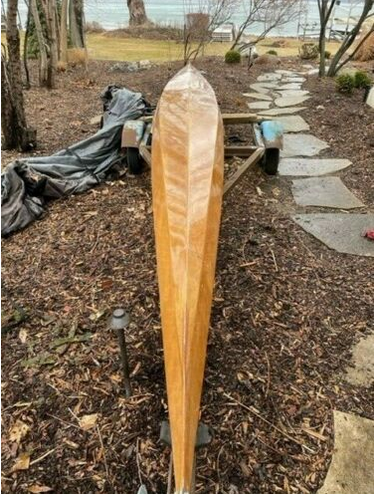
Here’s a photo from eBay from someone selling a beautifully finished Oxford Shell. It’s a good price ($1,200 including sculls and Piantedosi drop in machine), and it looks for all the world like Max Schmitt’s boat. The seller calls it “vintage,” but it’s probably no more than a decade or two old rather than the century or so its looks might suggest. Note the shallow V of the hull; I think the bulkheads will set that for me. [No; they help, but the V emerges when the stitches tighten. Keep reading.] Mine is flat at the moment. More when I know more.
